Surgical Guides7 min read

The 9-point surgical guide checklist our designers run on every case

The exact quality gates a specialist checks before a guide leaves the studio: sleeve depth, tissue support, irrigation windows, insertion clearance and print tolerance.
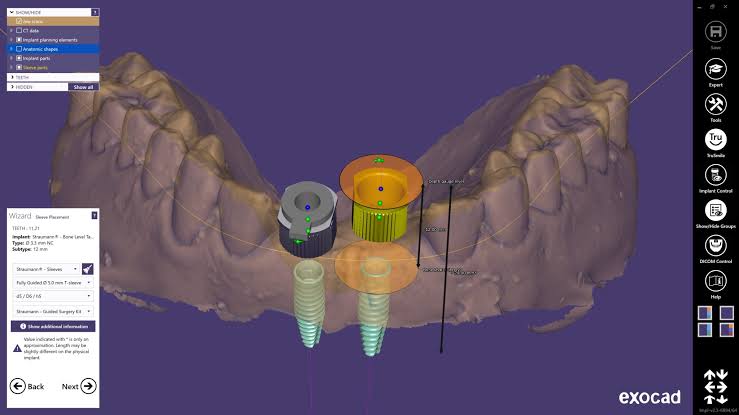
Guided implant sleeve planning wizard positioning sleeves on a digital arch

A surgical guide fails for boring reasons. Not exotic anatomy — a sleeve seated 0.3 mm too deep, a support surface resting on mobile tissue, or a window too tight for irrigation. Every guide we design is signed off against the same nine gates before it reaches your printer.

The nine gates

  • Sleeve offset verified against the exact drill kit and handle stack, not a generic default.
  • Tooth-supported surfaces limited to stable, non-mobile contacts with a defined seating stop.
  • Tissue-supported designs given a defined relief so blanching does not shift the guide.
  • Irrigation and visual windows placed where the surgeon actually looks, not where geometry allows.
  • Insertion axis checked for clearance against the antagonist and adjacent restorations.
  • Rigidity checked at the thinnest cross-section; ribs added rather than bulk.
  • Print orientation and tolerance validated for the material you actually use.
  • Labelled tooth positions engraved so nothing is assembled backwards chairside.
  • Final mesh checked for open edges, self-intersections and inverted normals.

Why a dentist runs this, not a technician

Most of these gates are clinical judgement calls, not software steps. Our designers are dentists with 10+ years in digital workflows, which is why the checklist reads like a surgical brief rather than a CAD macro.

Keep reading

Risk-free trial

Test us completely risk free.

Send us three crown cases. We design them free, in your preferred style, with a dedicated case manager on the thread. No card, no contract.